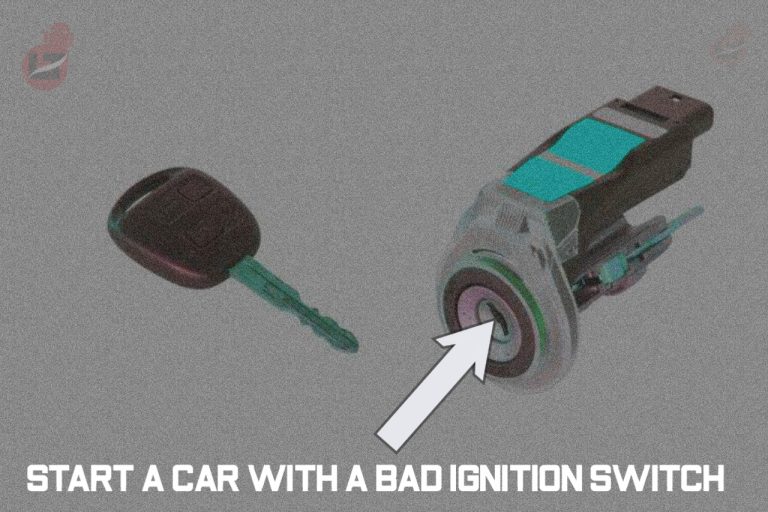
A functional ignition switch is critical in turning on a car, but what happens when you try to start your engine and discover that the ignition switch has gone wrong?
However, other things might come to mind, such as a dead battery, bad spark plugs, or zero injector pulse. However, take this as a quick tip: starting a car with a Bad Ignition Switch includes hot wiring, jumper cables, or screwdrivers.
Without wasting much time, let’s dive into the symptoms of a bad ignition switch and how to start a car with a Bad Ignition Switch.
Symptoms of a Bad Ignition Switch
The ignition switch activates the electrical pulses needed to rev the engine.
However, there are specific symptoms to watch out for, which will warn you that the issue is from a bad ignition switch. Some of them include
1. Vehicle not Responsive
When you insert your key into the ignition switch, and it refuses to respond even after several trials, it could be faulty, probably due to wear of internal components.
2. Difficulty turning the key
If the key gets stuck or over-free when turning ON your car, it’s likely a fault from your ignition switch.
3. No starter motor sound
By default, the engine is supposed to produce a sound when you turn the keys. When no sound is made, then your ignition switch is bad.
4. Vehicle stalling
If your vehicle frequently turns off itself while the engine is ON, you’ll need to check the state of the ignition switch.
5. Stagnant Steering Wheel
If your steering wheel is locked after inserting your key, you must change the ignition cylinder.
How to Start a Car with a Bad Ignition Switch
Here’s a quick guide on how to start a car with a Bad Ignition Switch.
1. Hot-Wiring
If you’re using older car models, it won’t be complex to hot wire your ignition switch.
- Go to the steering wheel column and remove the rubber casing to display all internal parts and wiring.
- Now, find the wiring harness connector (Because there are so many connections and wires in this location, it could be challenging to find the special connector. However, it is typically located near the middle of the steering column. The additional cables, connectors, and wires are connected to the wipers, lights, and other accessories.)
- Locate the ignition, battery, and starter connectors. The connectors can be identified with the help of the following color codes: Ignition – (Red), Battery – (Yellow), Starter – (Brown) – [Might differ depending on car model]
- Next, strip the insulators off the battery wires and join them together.
- Connect the ignition wires to the battery to switch on other electrical components.
- Finally, to start the car, remove the insulators from the starter wire and place it on the connected battery wires.
- The car should start now, allowing you to rev the engine for some time before driving off.
2. Using a Drill and Screw Driver
This alternative works very well but should be done with caution to prevent causing permanent damage to the ignition switch.
- Start by drilling the keyhole to the exact length of the original key using a metal drill (this will damage the ignition pins).
- You can now insert your screwdriver into the keyhole and turn it as you would with your key.
It’s pretty simple but dangerous.
3. Using a Jumper Cable
Open the hood of your car to reveal the ignition coil and battery
Now, connect the positive terminal of the car battery with the positive side of the ignition coil with the help of a jumper cable; this will give power to the dashboard, making it easier for the engine to respond.
Next, unplug the solenoid from the ignition switch wiring before connecting the negative solenoid to the positive terminal of your car battery.
Attach the positive solenoid terminal to the connection point of the ignition switch to turn on the solenoid, which should start the car.
How to Test an Ignition Switch
If you want to purchase a new ignition switch or would love to check if the current control is still working, here are ways to test an ignition switch.
- Using a test light
- Using a Multimeter
Start the testing by turning off the switch, then join the positive metal on the multimeter to the wiring on the switch and the harmful metal to any bare metal on the vehicle.
Set the multimeter to measure voltage while the key is set to the RUN position; if the results on the multimeter give anything less than 90%, then the ignition switch is faulty. That’s all for the multimeter test.
On the other hand, a light test requires that you ensure that your keys are set in the RUN position, then attach the Brown and yellow wires on the ignition to the test voltage. You can now select the key to the start position before connecting the Red wire.
This procedure should illuminate the lamp, but a damaged ignition switch will not produce feedback.
Conclusion
A bad ignition switch shouldn’t stop you from driving your car, especially in an emergency.
You can also check your buyer manual if you get confused about the wiring.
Furthermore, if necessary, you can take your car to an auto engineer for proper troubleshooting, fixing, or replacement.
As an Amazon Service LLC Program Associate, V. Auto Basics earns from qualifying purchases. See Our Affiliate disclaimer.
