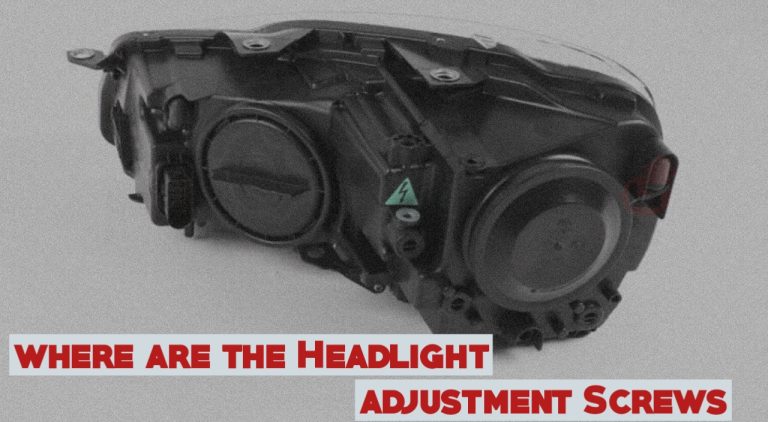
If the aim of your headlights is gone bad, then it’s probably an indication that it’s time for an adjustment.
The headlights come equipped with two adjustment screws which can be used to position the aim horizontally or vertically.
These headlight adjustment screws are typically located at the back of the headlight assembly and can be accessed by raising the hood.
And just for the remainder, functional headlights are needed for a better night driving experience, and if your headlights are misaligned, it could result in difficulty seeing the road ahead.
Also, this could cause a glare for oncoming drivers, which can cause distraction and result in accidents if not handled carefully.
Some factors that affect the positioning of a headlight include the type of road you drive on, wear and tear of the headlight assembly, or force from physical impact.
ALSO, READ > How to Make Headlights Brighter
In this article, we’ll help you discover where the headlight adjustment Screws are located and how to adjust your headlights for a better driving view.
Where are the Headlight adjustment Screws?
Headlight adjustment screws are small screws used to adjust the aim of your car’s headlights.
The headlight adjustment screws are typically located at the back or on top of the headlight assembly and can be accessed by raising the hood.
Each lamp has two screws attached, one adjusts the bulb vertically (left and right), and the other screw adjusts the bulb horizontally (up and down).
For example, if you want to adjust the vertical aim of the headlights to be higher, you will need to turn the vertical adjustment screw clockwise. If you want to adjust the horizontal aim of the headlights to be farther to the left, you will need to turn the horizontal adjustment screw counterclockwise.
Car owners are also advised to initiate headlight adjustments when installing a new headlamp or substituting any suspension component.
Also, you must check your headlights during weekly maintenance to ensure they’re in good condition and focus.
How to Aim and Alight Your Headlights
Follow the below guide to locate and adjust your headlights properly.
You’ll need cello tape, a flat wall, a smooth surface, a measuring tape, and a screwdriver.
- Park the car on a smooth surface with the front wheels in a straight direction and ensure that the tires are of equal pressure.
- While parked in front of a flat wall, make sure the distance from your car to the wall is between 10 to 12 feet.
- Turn on your headlight to the wall.
- Use tape to mark the place where each beam is aimed and measure the difference if they’re uneven.
- Measure the space between the marks if the light needs horizontal adjustments.
- Place another tape strip at the points where you want to adjust the lights to
- Open the hood of your car and locate your adjustment screws, usually found at the back of the headlight casing.
- Each headlight has one screw on top and another screw on the side (at times, there might be a decorative ring that must be removed to gain access to the adjustment screws)
- Now, adjust the height of the beam by turning the screw on top of the headlight and avoid making your beam too high to prevent glare for oncoming drivers.
- Next, adjust the width of the beam by turning the screw at the side of the headlight (You can use the initial measurement taken in step 5 to make the task easier).
- Test your adjustment settings by sitting on the driver’s seat and inspecting the beams on the wall.
- You can further test-drive your car at night to see if you’ve got the adjustment right.
During making your headlight adjustments, it’s recommended that you make small adjustments to screws rather than turning them in large amounts because the adjustment screws are very sensitive.
This will help you achieve your desired headlight focus quickly, but whichever way, you may also need to make multiple adjustments to achieve the goal.
Also, if your headlights are not properly aligned, repeat the adjustment process until you get it right.
FAQs
Here’s a video guide for you.
How helpful was this post?
As an Amazon Service LLC Program Associate, V. Auto Basics earns from qualifying purchases. See Our Affiliate disclaimer.
