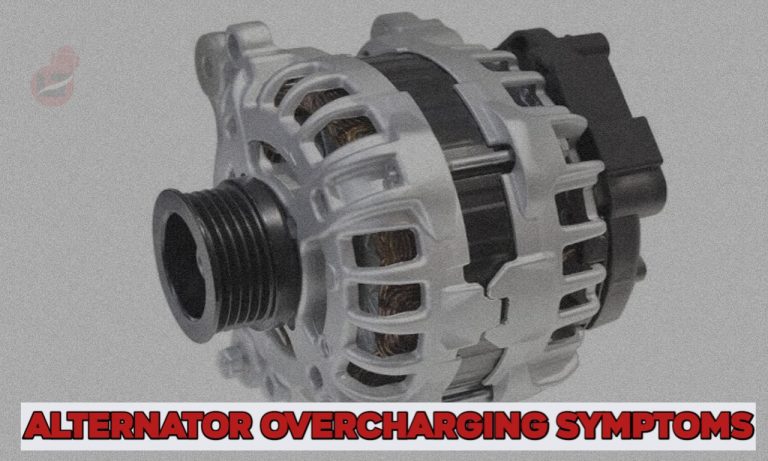
An undercharging alternator is a more common issue that affects a car’s engine power; what then happens if your alternator starts Overcharging?
The alternator’s primary function is to supply power to a running engine, and this one function could be boycotted if the alternator gets damaged or the wiring harness is tampered with.
In detail, the car’s primary electricity source is the alternator and battery; the battery helps start up the engine and power up other electrical components when the engine is off using its stored energy.
The alternator takes control once the engine cranks up and is the primary power source. The alternator also recharges the battery in preparation for the next crank.
The alternator, in turn, gets its electrical energy from the rotational force of the camshaft pulley and alternator pulley, which are connected to the engine using a drive belt.
Without wasting much time, Let’s see some of the noticeable symptoms of an overcharging alternator.
Alternator Overcharging Symptoms
You’ll notice one or more of these signs if your alternator starts Overcharging.
- The check engine light will turn ON
- Shorter battery life span
- The premature and shortened lifespan of headlights and bulbs
- Blown fuses and Relays
One of the most noticeable symptoms of an Overcharging alternator is the illumination of the check engine light.
The battery warning light will come on to notify you of the issue in the power dissipation.
Also, due to the Overcharging alternator, the battery, headlights, and bulbs will start degrading because of the high voltage from the alternator.
The last components to die off are the relays and fuses, which aid in controlling the number of electrical damages that can be done to a system.
How to Test for Alternator Overcharge
Before concluding that the above symptoms are from an Overcharging alternator, I’ll show you how to test and identify a faulty alternator using a multimeter.
By default, the car battery is configured to operate at 12.6 volts, while a perfect alternator operates at 14.2 volts.
Let’s get started with testing for an Overcharging alternator.
- Set your multimeter to 40 Volts.
- Connect the black probe to the negative battery clamp and the red probe to the positive clamp while the engine Is off.
- The readings from the battery should be in-between 12.2V to 12.6V
- Now, start the engine and take another reading
- The voltage on the battery should increase since the alternator recharges it. The readings should be between 14.2V and 14.7V
- Turn on electrical components such as the headlights, radio, and bulbs, then check if it still maintains a voltage in-between 14.7V
If, after testing the battery on step 2 and you get a reading lower than 12V or 12.2V, then that’s a clear indication that your battery is dying.
Also, if the alternator goes below 14.2V without any load, it’s a clear sign of an undercharging alternator – it isn’t sending enough power.
However, if the alternator supplies enough power and the battery is still running below 12.6V, it indicates that your battery is weak.
Identifying an overcharged alternator isn’t much work; once the readings on the alternator exceed 14.7V, you’ve to get an alternator replacement.
How to Repair an Overcharging Alternator
While there are temporal ways to bypass an Overcharging alternator, avoiding electrical damage is not recommended.
Ideally, the best way to repair an Overcharging alternator is to get a replacement. Still, if you must address the issue, you’ll need a broad understanding of electrical systems.
You can also seek the service of alternator repair shops for the best result. However, if you’re bent on fixing it yourself, then the simplicity depends on the location of the alternator.
Some alternators are embedded in the engine and require special tools and skills to get to it, while some cars keep their alternators at reach inside the engine bay.
You can also dig up your car manual to get the best guide on how to reach your alternator.
Let’s see how to Repair an alternator Overcharging issue without wasting further time.
- Open the hood of your car and disconnect the negative terminal of the battery.
- Locate the alternator – usually at the front of your engine – and create space around it.
- Take the belt off the alternator pulley and loosen the serpentine belt.
- Next, disconnect the power plugs from the alternator and remove the necessary bolts using a socket.
- Use a wire brush to clean the alternator bracket and bolts to eliminate dirt and create a better connection.
- Place the alternator on the bracket and apply anti-seize lubricant on the bolt threads before putting them into the holes.
- Start tightening the bolt using your hands to make the threads even before finishing with a ratchet.
- Reconnect the alternator power plugs.
- Remount the alternator pulley and serpentine belt to their place. You can check your manual guide for an accurate mounting diagram.
- Reconnect the negative battery terminal.
- Test the alternator again and see if the voltage is OK.
In most cases, you’ll need to replace the battery, bulbs, headlights, and other electrical components the Overcharging alternator has damaged.
That’s all.
As an Amazon Service LLC Program Associate, V. Auto Basics earns from qualifying purchases. See Our Affiliate disclaimer.
