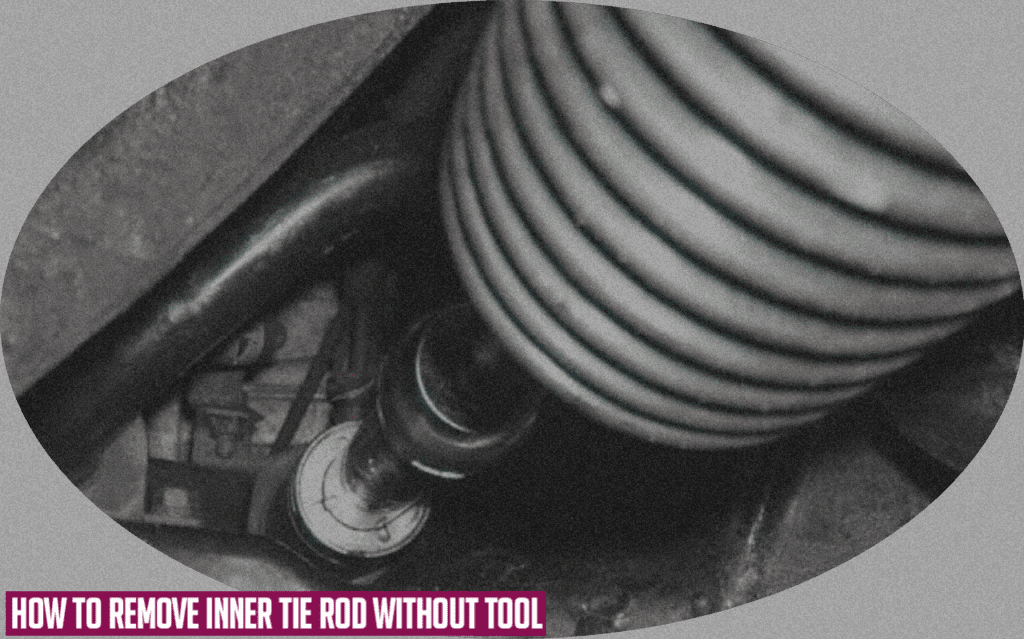
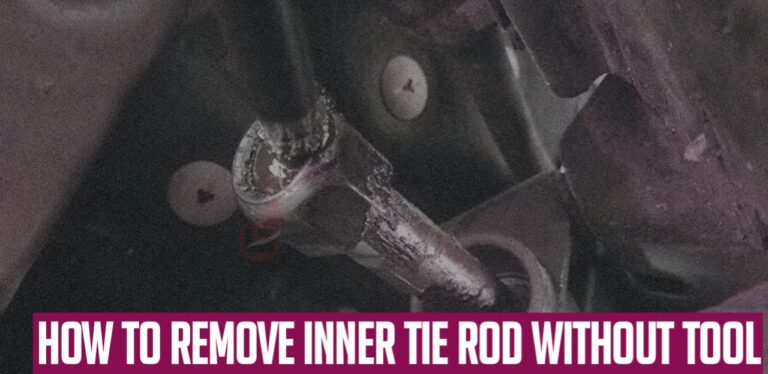
The tie rod is an essential component of a vehicle’s steering system, but it is liable to wear out over time resulting in vibrations and uneven tire wear out.
Firstly, The tie rod consists of two ends, namely – the outer tie rod and the Inner tie rod – respectively. These two help transmit movement to the steering knuckle from the rack and pinion when you turn the wheel, causing the tire to turn.
Removing the outer tie rod is easy because it is visible on one end of the tire and can be removed by unbolting and hitting it off with a hammer. However, the Inner tie rod is usually located in between the center of the vehicle, making it tougher to remove without special tools.
Fortunately, we have found an easy way to remove the Inner tie rod without a puller or other customized tools. This procedure should take only a few minutes, depending on your proficiency in auto repairs.
How Do You Get an Inner Tie Rod Out Without a Tool?
In this section, we will learn how to remove the Inner tie rod using readily available tools like a professional mechanic.
Tools Required
- Jack and Jack stands
- Lug wrench
- Adjustable wrench
- Hammer
- Pipe or long metal bar (for leverage)
- Vice grips or locking pliers
- Penetrating oil

Step 1: Preparation
Before you begin, ensure your car is parked with the parking brake on a flat surface and in a safe and suitable workspace.
Next, lift the vehicle using a jack and secure it with a jack stand > Locate the wheel associated with the tie rod and loosen its nuts with a lug wrench.
This will give you access to the steering components, especially the outer tie-rod end.
Step 2: Remove the Outer Tie Rod
In a real sense, the outer tie rod is supposed to come before the Inner tie rod, so it is logical to remove it first.
The tie rod is usually secured with a nut, but since it is close to the wheel, it is ideal to apply Penetrating oil first to loosen any rust or corrosion before unscrewing it with a wrench.
Once the nut is off, you have to hit the outer tie rod off by tapping the rubber with a hammer and applying the long metal bar for leverage (I will not advise you to hit the tip of the joint except if you want to replace it).
Now, displace the outer tie rod from the steering knuckle by turning it counterclockwise (count the number of turns it took before the tie rod got out of the steering knuckle).
Step 3: Removing the Boot
To remove the boot, draw another nut that joins that Inner tie rod to the outer tie rod. After you have applied penetrating oil to it, you can screw the nut off.
The next thing is to remove the clamps that hold the boot in place with a pair of nose pliers. One clamp holds the boot in the front, while the other has it at the back.
Now, carefully remove the rod that holds the boot in place while noting the side facing the driver’s and passenger sides, respectively, because of reinstallation.
Finally, you can freely remove the boot, and it clamps.
Step 4: Remove the Inner Tie Rod
Removing the Inner tie rod can be achieved by prying the pin that holds it intact. This can be achieved with a pick or a screwdriver. You may also need to hit the screwdriver a few times before it gets off.
Once the pin is off, you can remove the Inner tie rod end. Displace the Inner tie rod by turning it in a counterclockwise direction.
How to Remove Inner Tie Rod Without Tool [VIDEO]
FAQs
RESOURCEFUL LINKS
As an Amazon Service LLC Program Associate, V. Auto Basics earns from qualifying purchases. See Our Affiliate disclaimer.
